|
1. Which practical
skills and methodologies have you developed within this module and how
effectively do you think you are employing them within your own practice?
|
|
I now do a lot more development work using roughs
and scamps before I decide on a final design I’m going to work on, taking in
to consideration colour layout, medium and fonts.
Working in the different mediums in the development
stage can help me to see which one will better suit the style on the work I’m
producing and I feel this gives added practise using the different materials,
therefore building my confidence when using them on designs. Also once I find
an image I’m happy with I can then work on it in different ways to see which
best works, this helps me explore the different ways this image will look
from the start of the final design.
|
|
2. Which principles/ theories of image making have
you found most valuable during this module and how effectively do you think
you are employing these within your own practice?
|
|
I have used reference material to get my ideas and
shapes down on paper to then add and build on top of. Just doing a quick
search on the internet or looking in a book can save heaps of time not having
to try work out how something looks from memory as it is then in front of
you.
Scanning or taking photos of my images then editing
them in Photoshop to play with colour schemes allows me to see which works best
before adding any colour to my final designs. This also saves time and the
results are instant with no waste.
|
|
3. What strengths can you identify within your submission
and how have you capitalised on these?
|
|
I found that whilst working on the day in the life brief I really enjoyed
the task of working to a story/article as it didn’t give too much of a
platform to go wild with random ideas. Although that would have been nice it
made me do the obvious and this seemed to work, working on similar designs
just with little alterations gave me a greater idea of how the final images were
going to look and work together as a series. I also used images to reference
from to help me illustrate my ideas better and give them a more life like
look.
|
|
4. What areas for further development can you
identify within your submission and how will you address these in the future?
|
|
When drawing up my roughs and scamps I need to
start drawing them in the layout of the size the final image will be applied
to so I can better see how the finale design is going to look in the correct
format. I could do this b drawing a box using the shape of final designs
formats and work to those limitations.
I feel I need to work on the layout and composition
of my designs, as it seems to be something I have never really thought about
before this unit. I need to try and work out how best the imagery is going to
look and work out if the images and
text are balanced right with the amount of negative space left
|
|
5. In what way has this module introduced you to
the Ba (Hons) Illustration programme?
It has been great starting point as I feel I now
have a sense as to what the program is about and what time scale we have to
do the different aspects of development to the final design. As well as
getting an idea of what I am expected to produce in order to make the next
steps not as challenging, leaving more time to perfect my ideas.
The only issue I had is putting my work on the blog
as it is a whole new system of working for me which at times can be frustrating
and time consuming.
|
Showing posts with label OUIL403 Visual Skills. Show all posts
Showing posts with label OUIL403 Visual Skills. Show all posts
Sunday, 16 November 2014
OUIL403 Evaluation
Play Play Play
Here are some of my ideas sketches and roughs that i have done to try Illustrate the word SET. When i was first given this word i turned to the dictionary to find meanings of the word. This helped me massively and i got a lot of ideas straight away that I was excited to get down on paper. I was very happy with this task as i feel by getting off to a good start help me enjoy it.


Tried adding some sort of political message as i find it hard to mention russia without try to point out any of they many human rights issues they have.
 ways of adding the pussy riot style balaclava to the russian image.


Added bonus on developing these dolls i learnt how to draw roses which i have wanted to learn to draw for a long time just not had a reason to learn until now.
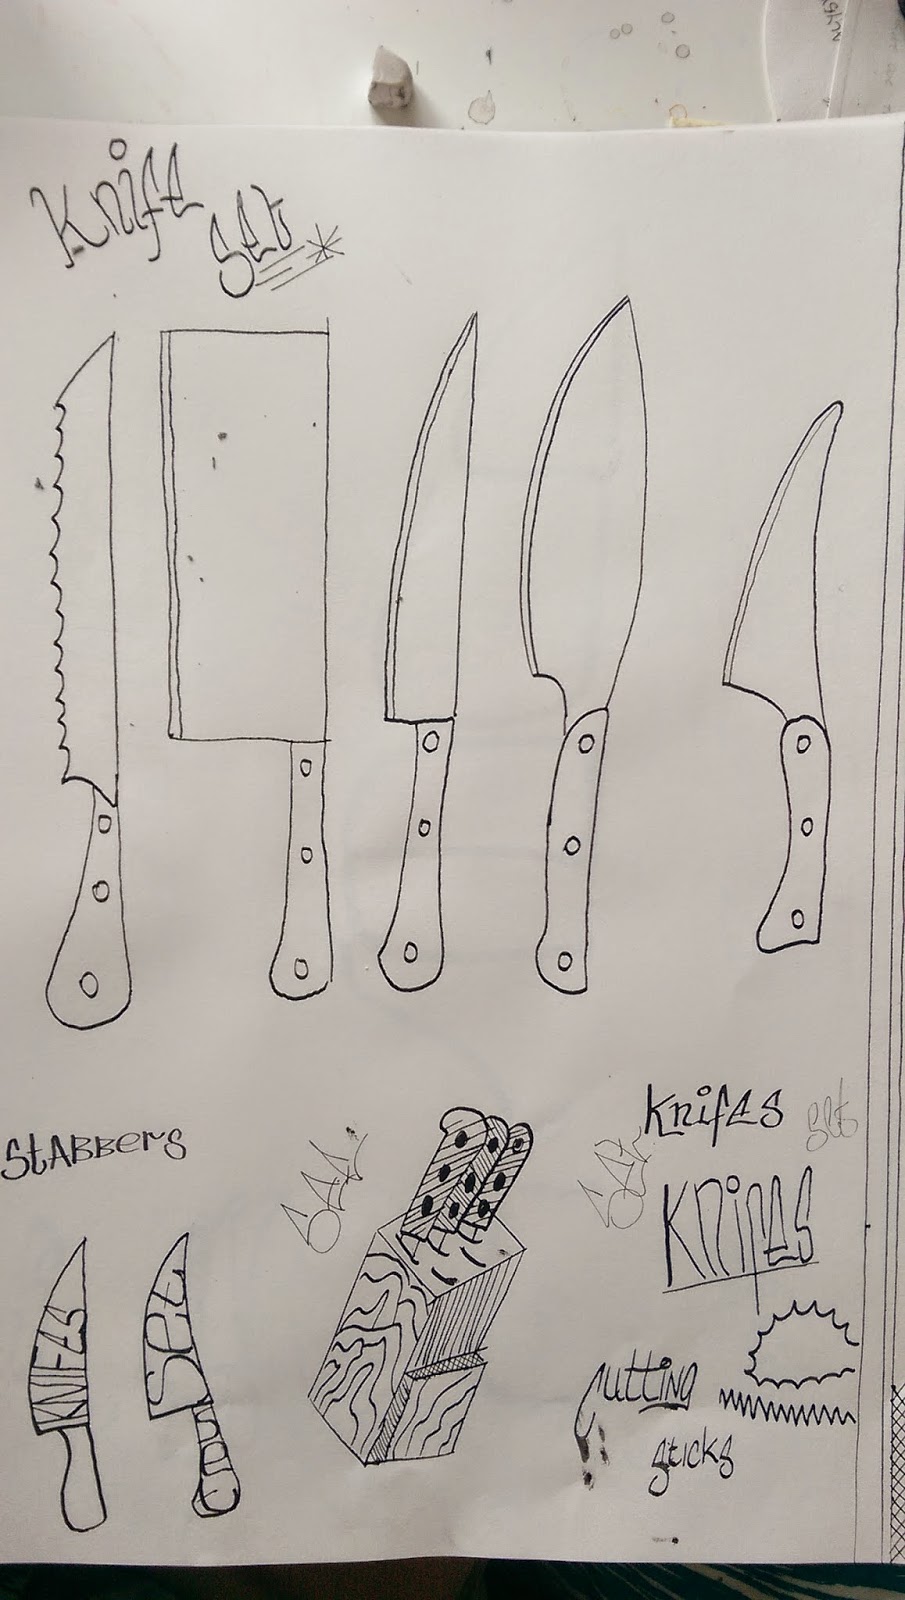
SET of Knifes


Set Jelly

Playing with the word to see which one looks the best, trying different ways of writing it. I found that to make it look like jelly i needed to add "wobbly lines"( scientific name)
 Wobbly lines added looks just like jelly.


 Without "wobbly lines" added they look more like a cloud based font.

Tried to do one in a basic russian font yo see if it worked but I feel the results where less of a im
pact then the jelly ones.

Need to add wobbly lines to give the wobble effect. Looking at many photos of jelly on the internet i then started to try and get the colour sheam right as that is a major part of jelly.
 FINAL DESIGNS


If i was to produce this set of posters again i would not use there different types of medium i would do them all in the same, as the colours would all match a lot better and it would resemble a set alot more. i would also use either a coloured paper or paint a back ground colour that i would apply to all there as i feel that with the sunset image having colour all over it this then makes all the wight negative space on the other two stand out a lot more and makes the poster feel abit empty.
On the russian dolls poster i would make sure i mocked out the design a little better and tried a few more different ways in which the positions of the dolls are done. As i feel this lets the poster down, could of also added more to fill the negative up, which could also give more of a impact when you see the poster.
The jelly set poster i feel turner out the best as it is easy to understand and gets the meaning across well. The only thing that i would say lets it down is the finish as it looks too messy with the brush marks and application of paint been shody.
SunSET
SET of russian dolls
Tried adding some sort of political message as i find it hard to mention russia without try to point out any of they many human rights issues they have.
Added bonus on developing these dolls i learnt how to draw roses which i have wanted to learn to draw for a long time just not had a reason to learn until now.
SET of Knifes
different knifes set out, many styles of kitchen and outdoors knifes to choose from.
With this one using the letters as a fill to see if you could see it was a knife.
Set Jelly
Playing with the word to see which one looks the best, trying different ways of writing it. I found that to make it look like jelly i needed to add "wobbly lines"( scientific name)
Used a few different styles of font to see which one worked best in large scale. Even to see if in landscape it worked but i feel with the paper in portrait
Tried to do one in a basic russian font yo see if it worked but I feel the results where less of a im
pact then the jelly ones.
Need to add wobbly lines to give the wobble effect. Looking at many photos of jelly on the internet i then started to try and get the colour sheam right as that is a major part of jelly.
If i was to produce this set of posters again i would not use there different types of medium i would do them all in the same, as the colours would all match a lot better and it would resemble a set alot more. i would also use either a coloured paper or paint a back ground colour that i would apply to all there as i feel that with the sunset image having colour all over it this then makes all the wight negative space on the other two stand out a lot more and makes the poster feel abit empty.
On the russian dolls poster i would make sure i mocked out the design a little better and tried a few more different ways in which the positions of the dolls are done. As i feel this lets the poster down, could of also added more to fill the negative up, which could also give more of a impact when you see the poster.
The jelly set poster i feel turner out the best as it is easy to understand and gets the meaning across well. The only thing that i would say lets it down is the finish as it looks too messy with the brush marks and application of paint been shody.
Sunday, 2 November 2014
A Day In The Life - Finally Illustrations
These are my final three designs that I will submit. The Shirthead and Shaking hands ones have stared the same from my ideas stage just added a bit of shading to them and the colour. The old man one was suppose to be a conversation scene between a old man and a younger version of himself, but when trying to come up with the final designs i did not like what i was drawing so opted for this single portrait of a old man. i feel this image had more of a initial impact.
As I have said i'm very happy with how these images have turned out the only issues i'm going to try change next time round is my method for adding shading using my fineliners. As this way is time consuming and i know they are other methods i need to learn to save time and effort in my approach to creating images. And maybe use digital media (photoshop) to add the colour as i feel if printed out properly on nice paper and with a good quality printer the images would look a lot more professional.


Also these images have been digitally alter but my original 3 i'm handing in have been painted using water colour but when i have scanned them in it has changed the colour to red and made the image look rubbish and due to my limited photo shop skills i'm unable to alter it to look correct.
I have used orange as the main colour as in the article it says it its telecom giants orange that are developing this software so i used a similar shade of Orange to represent this. Also I feel it makes the images jump of the page and get you attention and interest.
Monday, 27 October 2014
Studio Brief 2 - Day in the Life
We where asked to produce 15 drawings that responded to a article given to us. Mine was from a blog post about been able to talk to your future self using new software developed by communication company Orange. At first i struggled to come up with ideas that related to the article as i was trying to over complicate the matter with the whole article. But once i had realised that all i need to do was get the readers interested in the article with a little snippet of the information in illustrative form.
Here are a few of the ideas i had, and these are the designs im going to be working on over the next week to come up with my final submissions.
this is the first one that will be going in my 200x200mm layout, need to reference some faces to use onit.

On this page i will be using the hands shacking at the top of the page in the 290x105mm, if i can adapt it successfully i will be hopefully wrapping a time line around the whole arms and hands, but watch this space i still need to develop the idea.

This is my favorite idea i had as its a little different to the others and i will be combining both images to produce my 105x200mm layout.

Here are a few of the ideas i had, and these are the designs im going to be working on over the next week to come up with my final submissions.
this is the first one that will be going in my 200x200mm layout, need to reference some faces to use onit.
On this page i will be using the hands shacking at the top of the page in the 290x105mm, if i can adapt it successfully i will be hopefully wrapping a time line around the whole arms and hands, but watch this space i still need to develop the idea.
This is my favorite idea i had as its a little different to the others and i will be combining both images to produce my 105x200mm layout.
Wednesday, 15 October 2014
Typology Poster Studio Brief 2
So after exploring a range of different themes 10 in all i have decided to do my A1 poster on 26 way to use a pan. As pans are normally only used to cook with i feel that this poster could be a challenge to think of 25 other uses for a pan, but also change how the world sees the humble pan.


So after many hours coming up with ideas of what my 26 illustrations are going to be i set about drawing them up on my A1 paper, but i ran into a problem a few drawings in. In the excitement of getting started i laid my paper down in landscape and did not notice until i had already started working on it. So after turning my new paper to porate i just got some tracing paper and traced my images. I really liked that by tracing my images once i had drawn them out helped clean them up, so i did this process for all 26 and in the end the only regret i had with doing this was the time it took to do it but very happy with the final results. I used fine liners to get my line work down and add abit of tone to my pans then added small amounts on watered down drawing ink to try breack the poster up as there was far too much white. After adding some ink i then felt i should just leave the poster alone as i felt i could of ruined it by adding too much ink.
Monday, 13 October 2014
Typology Studio Brief 1
We have been asked to come up with 10 themes containing 26 images one for each letter of the alphabet, theses themes and images should reflect me. The first and hardest part is coming up with 10 themes that are interesting. To get the creative juices flowing i put pencil to sketch book and started drawing a number of very quick sketches to do with motor racing, these been formula 1, moto GP and BSB (british super bikes) as these are my 3 favourite sports to watch and i feel i know a little bit about them to come up with drawings to represent them.


Subscribe to:
Posts (Atom)