digital workshop using the spot colour channel in photo shop
ouil504
looking at techniques that we will apply to printing.
how photoshop works with colour-

colour picker (allows you to choose your colour)
colour picker (allows you to view the library of colours

select a book

the colour pixel will be reproduced? with cmyk any colour with in photoshop with be reproduced in cmyk. a mixture of cmyk colour ink.
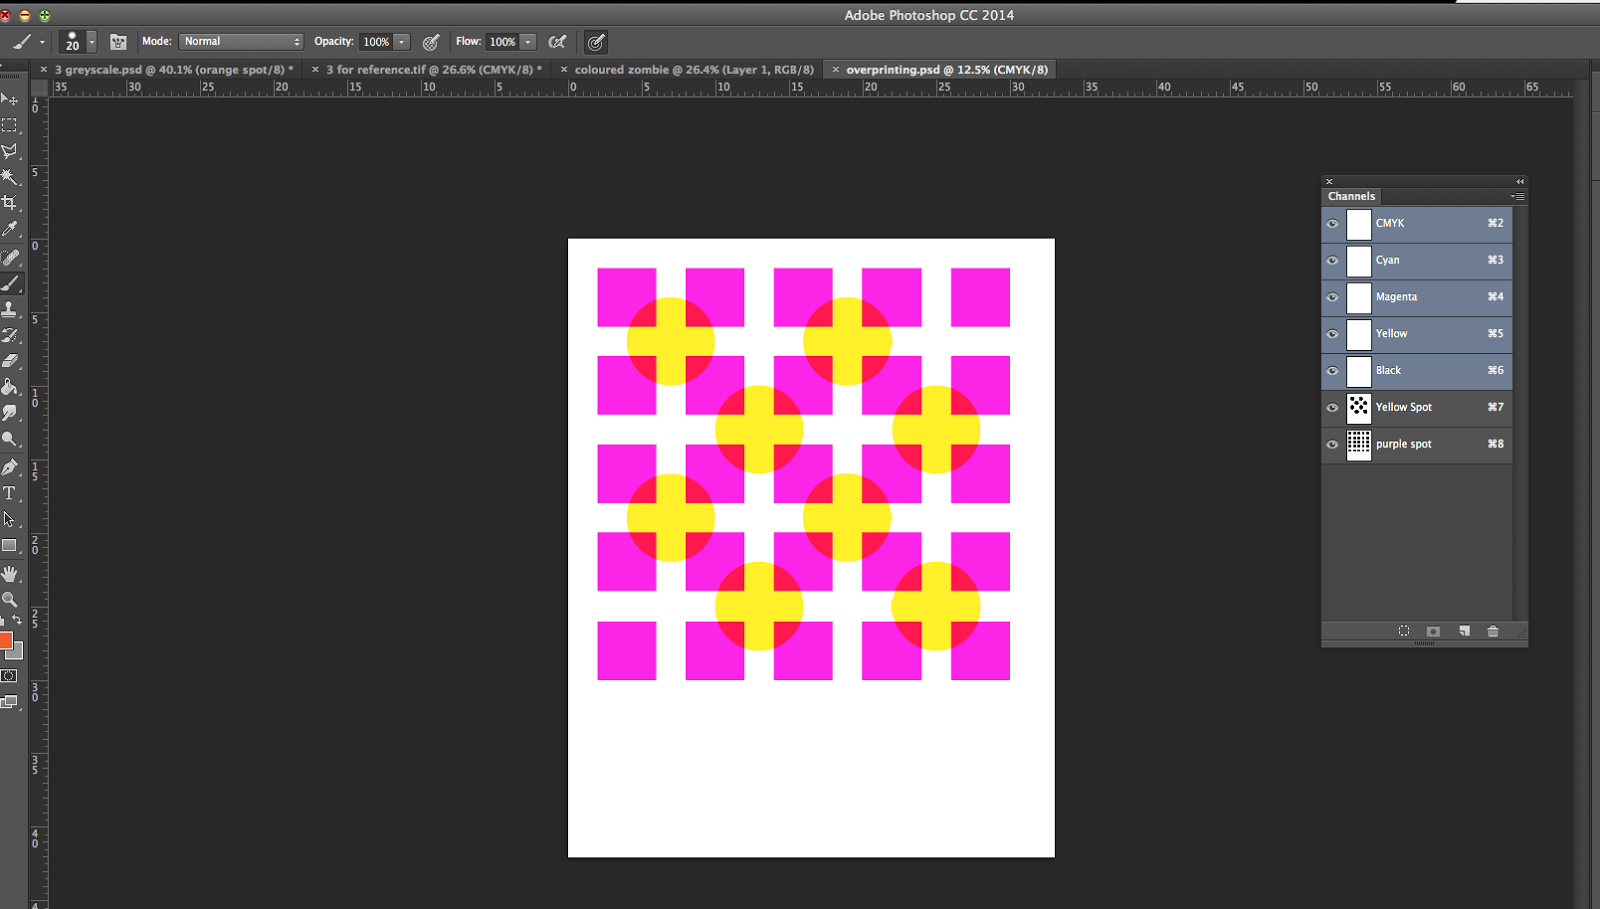
using spot channel in photoshop
1 channels pallet

2 menu on the channel pallet.

3 new spot channel-choose a colour that your spot colours are going to represent.

4 after choosing the colour rename the title of the colour and add spot. adding spot is a good practice for understanding also if you just call the colour by its name photoshop may get confused with its own colour then press okay.

* black areas on your page indicates were ink will be printed on your page and white ares will be were there is no ink printed

*when you paint on the page when you paint over the black, the black doesn't be affected because its used with in a transparent feature.

double click on the image in the cannel pallet you get the opion to edit the colour of your channel
usfull for experimenting with different colours

colour select will allow you to prevue the colour range or channel

create a new spot colour.

choose your ink and retaitle it and press okay
turn of the cmyk channel to identify your channel it makes it easier to see.
create new spot ink channel-select colour-go to select- colour range select a colour and lower the fuzziness do this on the selected colours that you think you ail be using through print screen.
for example below i created 3 new channels for each colour i will use in print screen 1.black. 2. light 3. orange. i can now select each colour separately. easier to view each screen.


through the image into illustrator. new page and upload the image on to the page using place in the file settings .
then go to windows and select separation preview

when printing your image make sure the template look like this EASY NOTE TAKING

knocking out or over printing.
example


the solidity opion is the percent of the transparency of the colour
this will change the value and the cloud with in half toning

you can change the stacking order of your layers that will effect witch inks are on the top. witch ever is the top layer is the ink that is printed first,

example of moving the layers and moving what ink is printed first. OVER PRINTING
knocking out would be the opposite of over printing. the ink are locked out of each other everything is printed onto white cartridge.
* cmd and 0 brings the screen back to normal from zoomed in or zoomed out
No comments:
Post a Comment